How to Make a Team Building Activity for Under $10
Sometimes team building activities make me cringe. Trust falls, ropes courses or anything that involves talking about my feelings with people I barely know, isn’t exactly a productive way to utilize the time during an off site.
At Leadership Vision, we have spent time thinking about how we could combine the language and philosophy of strengths, with easy to create challenges and team building activities. The purpose of this is to add a depth of understanding, and immediate examples of individual behaviors behind the 34 themes of strength.
The following challenge is designed to observe the way team members adapt to changing circumstances. In much the same way as real world environments change at a moments notice, this challenge forces participants to flex and adapt with the challenge, as the facilitator changes the rules and environment along the way.
Below is a step by step guide for creating the challenge, and the debrief questions for discussion. We’ve combined flexibility and leadership, using StrengthsFinder as a way to better understand one another.
The Nuclear Disposal Challenge
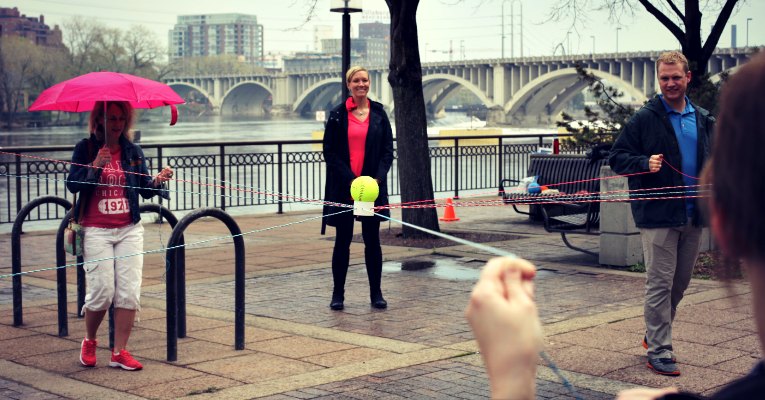
The objective of this challenge is to move the “hot orb” from the top of one cone to the top of another, using only the supplied ropes for transport.
This challenge is ideally suited for a team of 8. If you have more, you can always make additional equipment. You can also easily support 5 or 6 people, but it’s a little tougher to complete.
Step 1. Get Supplies
Read through the following instructions, then head to a dollar store or hardware store, and get the following items.
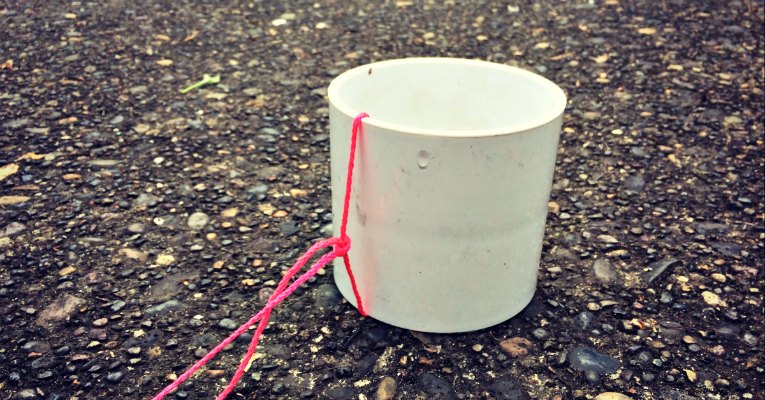
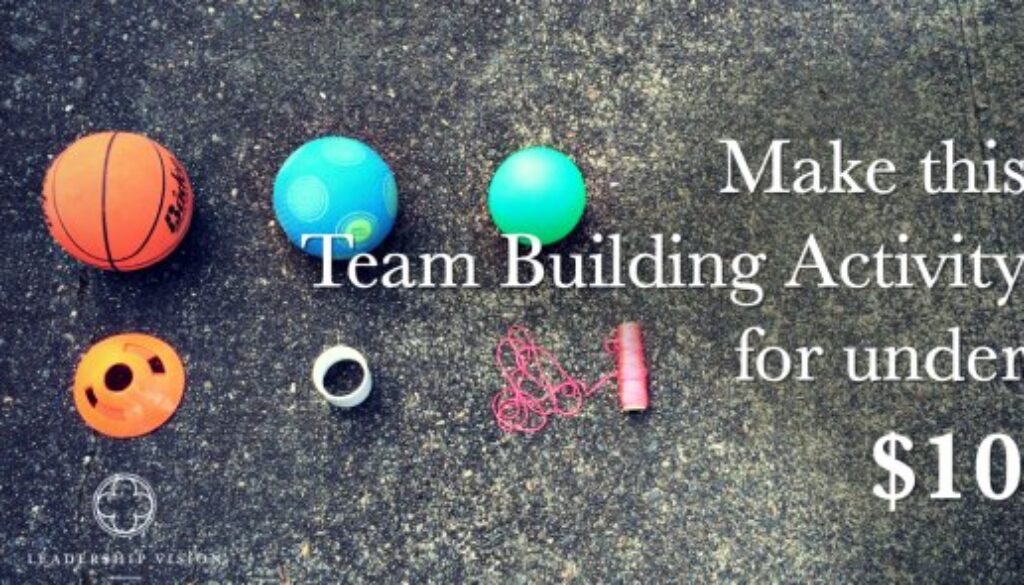
- 1, 2″ – 4” PVC coupler (should be small enough so a tennis ball won’t fall through) – $2
- 1 tennis ball, 1 softball, 1 playground ball (any 3 sizes will do) – $5
- 100 ft of thin rope or thick string (kite or masonry string works well) $2

Optional
- 2 traffic cones (not necessary, but nice)
- 2 blindfolds
- Review “playing field” for any natural obstacles or objects to make the challenge more difficult
The selection of balls is a bit random, but the idea behind them is that they are different weights, which will come into play later. The rope simply needs to be something you can thread through the holes you will drill in later steps, and secure to the coupler.

Set 2. Build It
Depending on your skill with a drill, this shouldn’t take you more than 30 minutes. You will need some sort of power drill, and a drill bit large enough to thread the rope through.
- Using a sharpie, make 8 marks evenly spaced around the outside of the coupler. These will be your guide holes.
- Drill 8, holes around the outside of the PVC coupler.
- Thread a piece of rope through each hole, tying a knot on the inside of coupler so it forms a 10 ft handle.
- Using the sharpie again, on each rope make a distinguished mark about 1’ from the end.
- Repeat for each hole/rope.

If you don’t have access to a drill, you can simply tie the string/rope around the coupler. While this is easier, it’s a bit trickier to setup.

Step 3. Setup
- Find two areas, clear of obstructions, about 25 ft in diameter, approximately 10 yards (or more) apart.
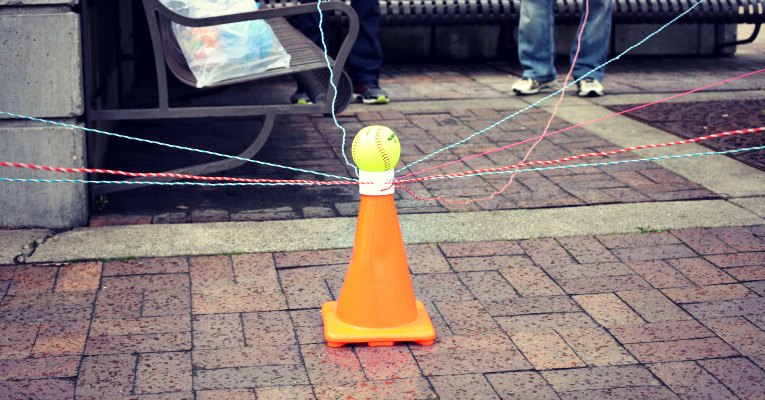
- Place one traffic cone in the middle of the area (or set on the ground if you don’t have them).
- Place the coupler with one ball on the top of a traffic cone, and lay out all ropes.
- Instruct team members that they may NOT touch anything except the 1 foot end of their rope.
- Each member of your team must grab one of the strings attached to the coupler.
- As a team, use the ropes to pick up the ball and transport it to the top of the other cone.
- If ball falls off – start over! It is up to facilitator where to start over.
Once you complete it ones, you can use a different size/weight ball for added difficulty.

Facilitators Role
The facilitator plays an important role. In addition to making sure the handful of rules are being followed, they have the responsibility to make the challenge more difficult as the activity progresses. The best part is, the group does not need to know in advance about these impromptu hurdles. For example:
- The facilitator can choose to stand in the middle of the path, with their arms raised, forcing the team to go around.
- The facilitator may use objects from the field of play (like a tree, rock, bench, etc.) to place in the team’s path, again forcing the team to make decisions about where to go.
- The facilitator can change/move the destination at any point during the activity.
- The facilitator can choose certain team members to sustain various “handicaps” along the way. One team member may lose the use of a hand, foot, or other body part. They may also choose to silence the most vocal member of the group, or require someone to put on a blind fold.
Once when we were working with a high level leadership team, the CEO kept making big declarations about what should be done. At one point I said, “he can no longer talk for the rest of the challenge. Everyone panicked a bit, but he was a good sport and played along. During the debrief, he said while it was a challenge, it also showed him that others could (and should) be allowed to step up.
Sometimes, simply transferring the object from one point to another is enough of a challenge, Since this is designed to focus on the idea of flexibility and adaptability, any additional elements that force the group into instantaneous decision making, will add to the debrief conversation.

Why Flexibility is Important
Your ability to adapt to changing surroundings is one of the best, most important traits for a leader to have. This isn’t simply about being flexible. Sure, things change rapidly, but how you are able to respond to various environments is what sets good leaders apart from great ones.
It also helps you be a better team member.
This challenge is rather simple. It is designed to give a team specific examples about how different strengths may adapt. It is sometimes surprising, because one team member who is constantly offering suggestions about how to navigate, isn’t necessarily doing a better job from the one who is silent, taking in all that is going on around them. They are simply approaching the situation differently.
The debrief is where these things can be explored.
Suggested Debrief Questions
- How do your strengths enable you to adapt to a changes in your environment?
- How do the actions of another team member (negative or positive) affect your ability to adapt?
- How do you respond when changes in the environment are beyond your control? When they are within your control?
- When the facilitator did [fill in what they changed], how did you respond?
- What came easy to you about this challenge? What was difficult?


